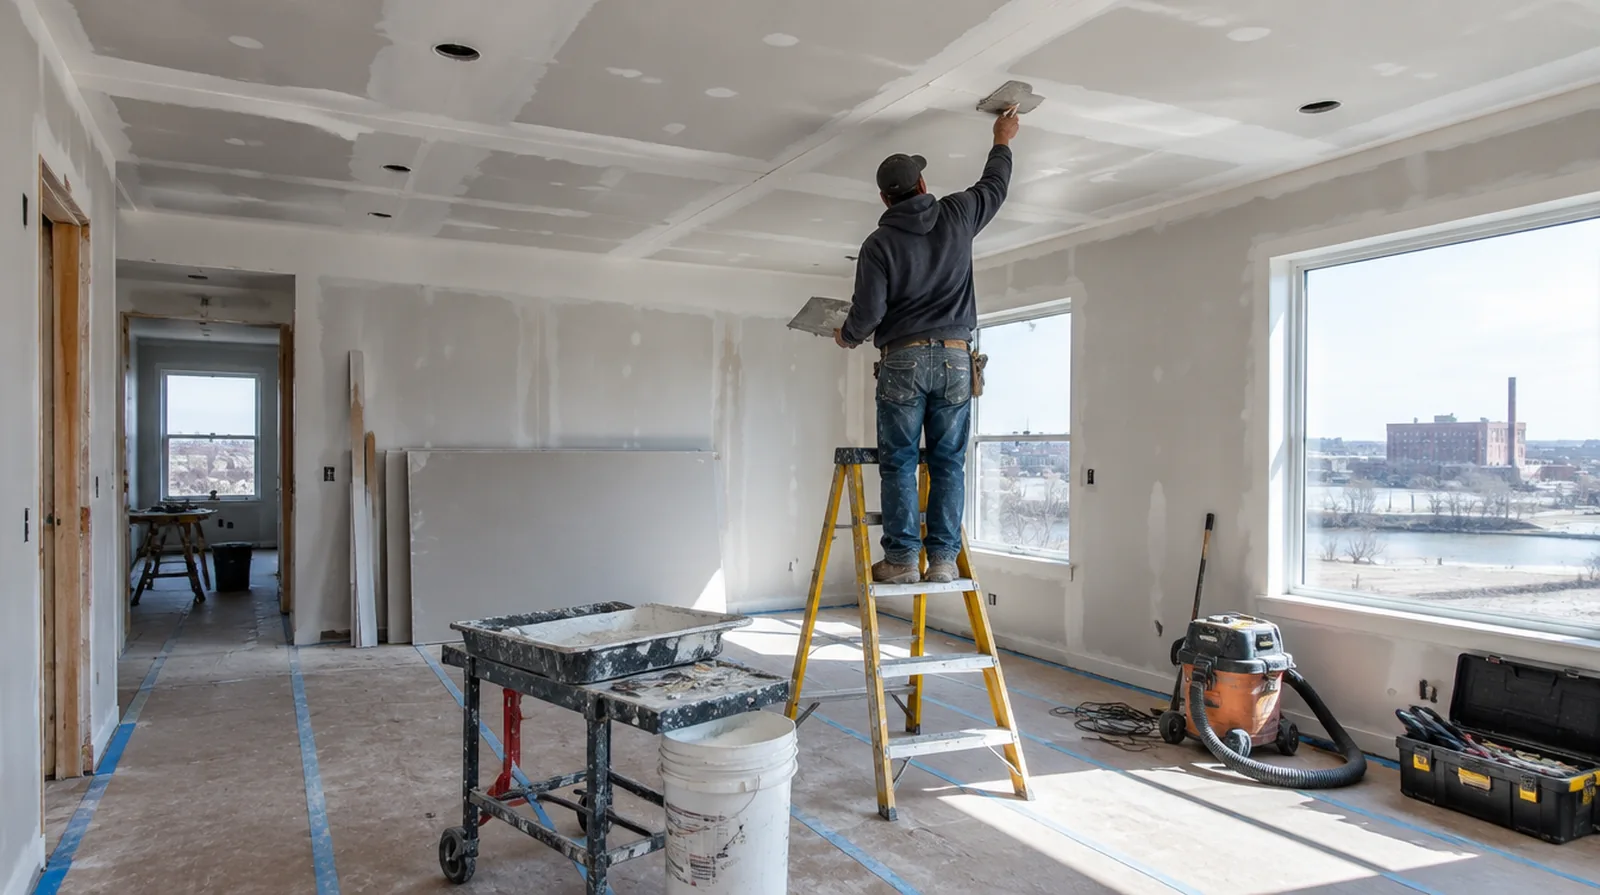
Set the repainting scope
A small fresh white patch can stand out against an older ceiling even when the surface is level. Painting to a natural boundary may be preferable to touching up only the repair. When the work area includes a doorway, check the clearance for panel movement as well as the amount of space available for finishing tools.
Add reliable backing
Support a ceiling replacement mechanically at its perimeter instead of using finishing compound as a structural attachment. Matching the panel thickness helps avoid a noticeable step between old and new surfaces. When concealed damage is possible, establish how additional findings and any proposed removal will be recorded before the scope changes.
Discuss texture expectations
A smooth ceiling and a textured ceiling need differing finishing plans around the repaired section. An agreed sample can show the likely limits of a local texture blend before the full repair proceeds. When painting is outside the proposal, describe the remaining decorative preparation clearly so another contractor can price that stage accurately.
Treat the joints overhead
Reinforce the ceiling patch joints and taper the finishing layers well beyond their edges. Overhead seams can be conspicuous because windows often send light almost parallel to the ceiling. If there is a fixed move in date, reserve sufficient time for the coating stages after drywall work rather than counting only the installation period.
Check the source of damage
A ceiling stain or soft area may be caused by plumbing or another moisture source above the space. The cause needs resolution before cosmetic repair can reasonably be expected to last. When damage followed other building work, describe the nearby alterations and the sequence between those changes and the first visible defect.
Separate fixtures from board work
Handling lights, sprinkler fittings and air grilles can require appropriate trades and building coordination. Clarify who disconnects and reinstalls anything that interferes with access to the damaged area. If the ceiling or wall includes fittings, identify the person responsible for removing and reinstalling each item before the work begins.
Review the room after drying
Inspect from the doorway and from positions near the windows once the finishing layers have dried. Record any remaining paint preparation before the protection comes down and the room returns to use. When panel replacement exposes a cavity, resolve any required inspection before that opening is closed and the surface finishing begins.
Evaluate sagging sections
A sagging ceiling needs its supports, fixings and damaged materials assessed, not simply smoothed. Keep people away from an unstable area while the suitable professional evaluates it. When a wall has repeated defects, keep a record of earlier repair attempts so a new assessment does not simply repeat an unsuccessful approach.
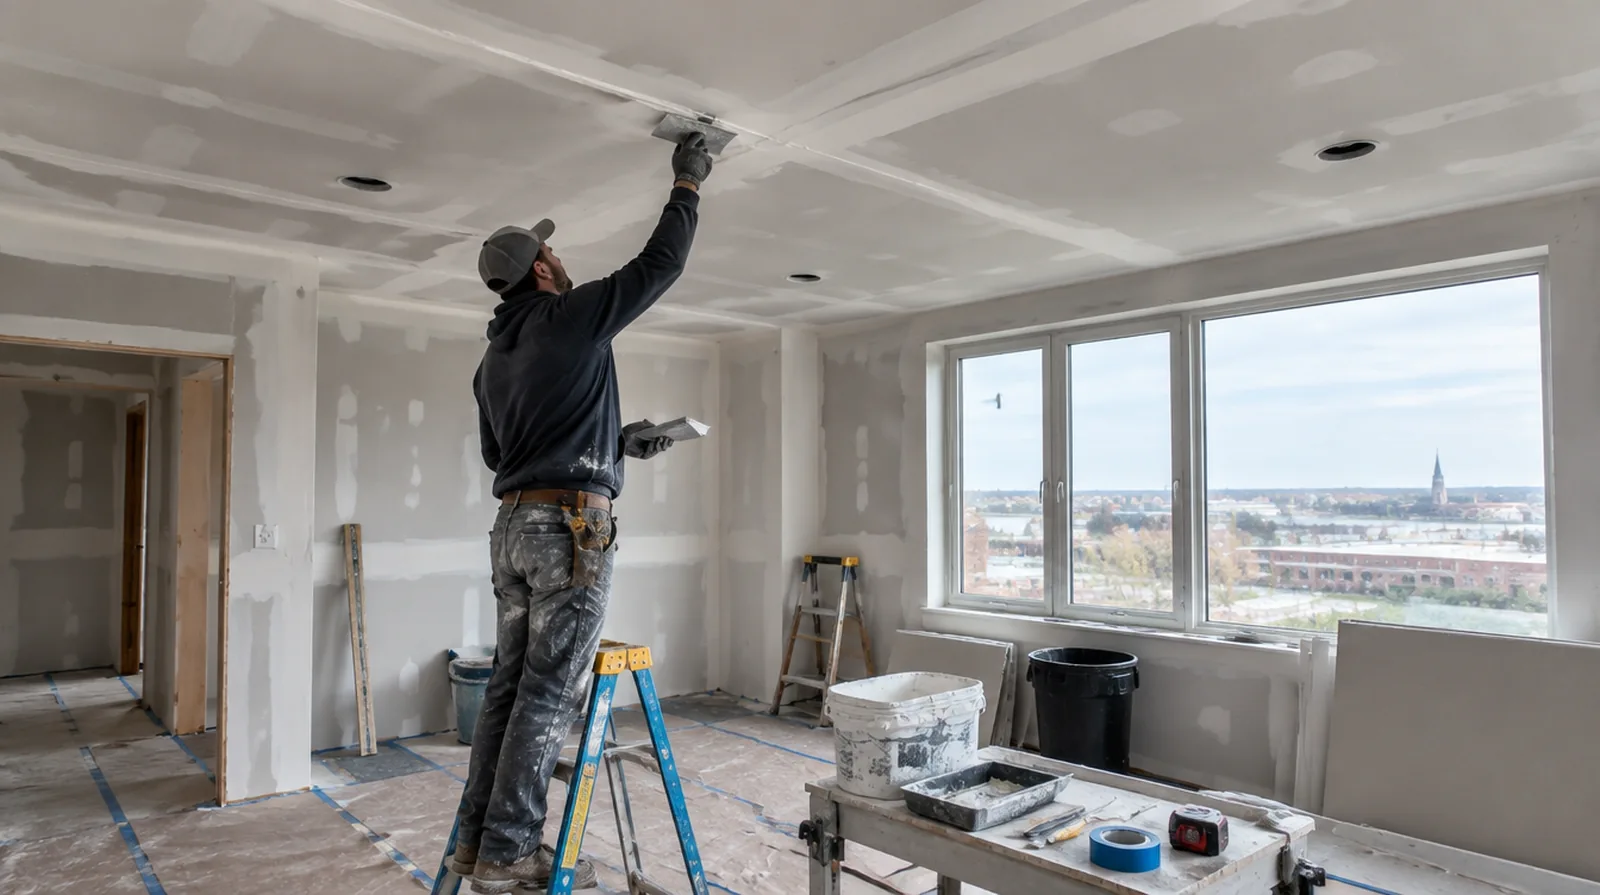
Plan overhead access
Plan suitable overhead working access around the interior height and its contents. Delicate floors, bulky furniture and fittings may add more setup work than the patch dimensions suggest. For a surface that will receive wall covering, share the product requirements early so the finishing stage supports the planned decorative treatment.
Cut back to sound material
A reliable replacement cannot depend on board that has lost strength through water exposure. The removal boundary should reach stable material and allow the replacement to be properly supported. For a surface that will receive wall covering, share the product requirements early so the finishing stage supports the planned decorative treatment.
Project context in Joliet
Finish the planning discussion by identifying the point where drywall work ends and the primer, trim and decorative coatings begin. During cold winter periods, confirm that suitable indoor conditions can be maintained through the finishing stages, not only during the first visit.
Scope questions before finishing
If occupancy must resume on a certain day, include the later primer and paint stages in the timetable as well as drywall installation and finishing.
When comparing competing estimates, make sure their protection, surface finish and disposal allowances describe equivalent work before comparing the final prices.
Where a finished perimeter is prominent, decide whether trim stays in position or is removed before agreeing how the new surface meets that edge.
For a wall receiving a decorative covering, provide its preparation requirements early adequate for the drywall finish to support that product.
If the project is part of a larger remodel, settle the sequence with flooring, trim and cabinet work before setting a final finishing date.
At a repair beside an opening, allow clearance for moving board through the doorway and space to use the finishing tools effectively.
When a wall has repeated defects, keep a record of earlier repair attempts so a new assessment does not simply repeat an unsuccessful approach.
Where flooring is staying in place, agree on protective coverings and check that tools and material handling will not damage the visible finish.
If the surface condition is uncertain, allow for an assessment that can distinguish stable material from layers that ought not to be covered.
If the room will remain occupied, identify a practical separation between the protected room and the space that still needs daily access.
For walls beside bright windows, review a dry sample from an oblique angle as well as looking straight at the repaired surface.
If the wall surface work belongs to a broader renovation, coordinate its order with flooring, cabinetry and trim instead of scheduling finishing in isolation.
Explore the Joliet drywall overview for related options, or read the project planning information before arranging the next stage.
More planning details for Joliet
A Joliet renovation schedule should account for both material handling and the conditions maintained inside the room. Stair access can influence the practical sheet dimensions, while a long ceiling line may make shallow unevenness particularly visible. Measure the route and the finished area separately instead of assuming one measurement answers both questions.