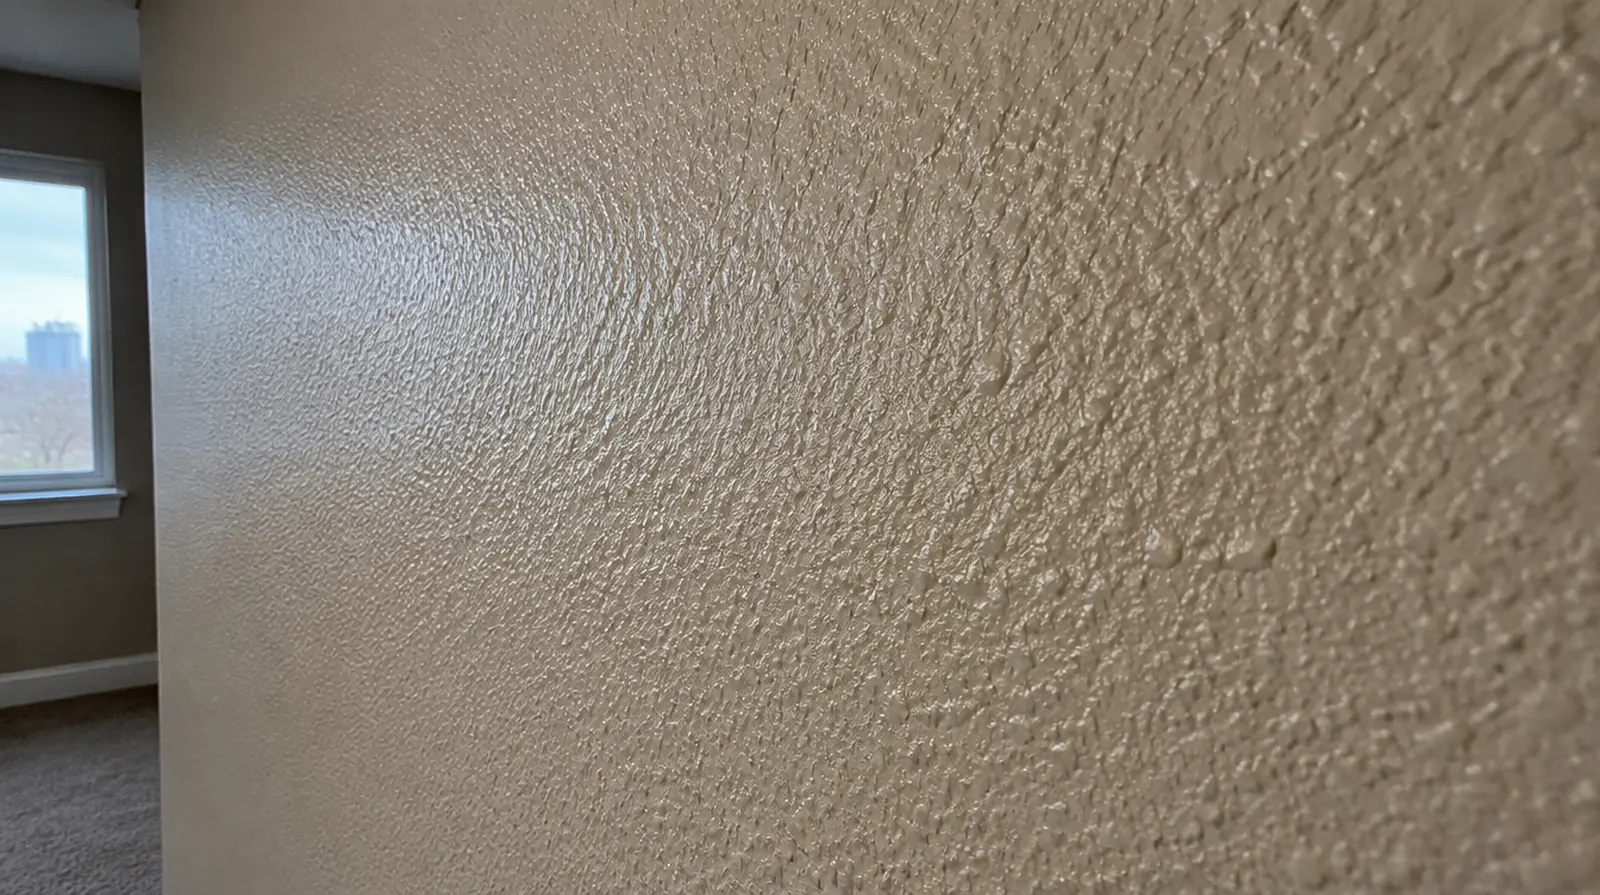
Use appropriate primer
A new texture and the painted wall around it can take up paint unevenly. Choose suitable primer to support the coating system without unnecessarily flattening the intended pattern. If an independent painter completes decoration, agree the condition of the handed over surface and assign responsibility for small final corrections.
Protect surrounding finishes
Mask adjacent materials against sprayed compound and other application debris. Protect the full reach of the operation, including fittings and trim beyond the original damaged spot. For work spread across different planes, record their dimensions separately and describe the boundary of the treatment on each surface.
Study the paint layers
Older paint coats may have filled or rounded the original texture profile. Matching the wall surface as it looks now could call for a different application from the pattern that was first installed. When the wall surface has strong reflected light, look at the full plane instead of judging only the narrow strip immediately beside the patch.
Identify the existing pattern
Orange peel, knockdown and hand applied textures create differing depths and shadow lines. Examine the surface in the light the room actually receives before choosing a spray or hand applied method. When comparing competing estimates, make sure their protection, surface finish and disposal allowances describe equivalent work before comparing the final prices.
Blend beyond the patch
A sharp rectangular transition can expose the repair even when the new pattern is otherwise similar. Gradually extending the texture into the surrounding surface may make the blend less abrupt. If the decorative coating is already chosen, share its sheen and color early because those choices influence how surface preparation is judged.
Control application conditions
Spray settings, material consistency and working distance all influence the resulting texture. Room conditions and drying rate also influence when a knockdown pass ought to be made. When concealed damage is possible, establish how additional findings and any proposed removal will be recorded before the scope changes.
Consider hand applied surfaces
For a troweled pattern, the tool movement and the spacing between its marks matter. A sample is particularly helpful when the current finish was created without a regular sprayed pattern. Where a finished perimeter is prominent, decide whether trim stays in position or is removed before agreeing how the new surface meets that edge.
Check the underlying repair
A decorative pattern will not reliably disguise a ridge or an uneven board joint underneath it. The base repair ought to be flat and firmly bonded before a decorative pattern is added. For an older repair with no clear history, describe when the mark first appeared and whether it has changed through more than one season.
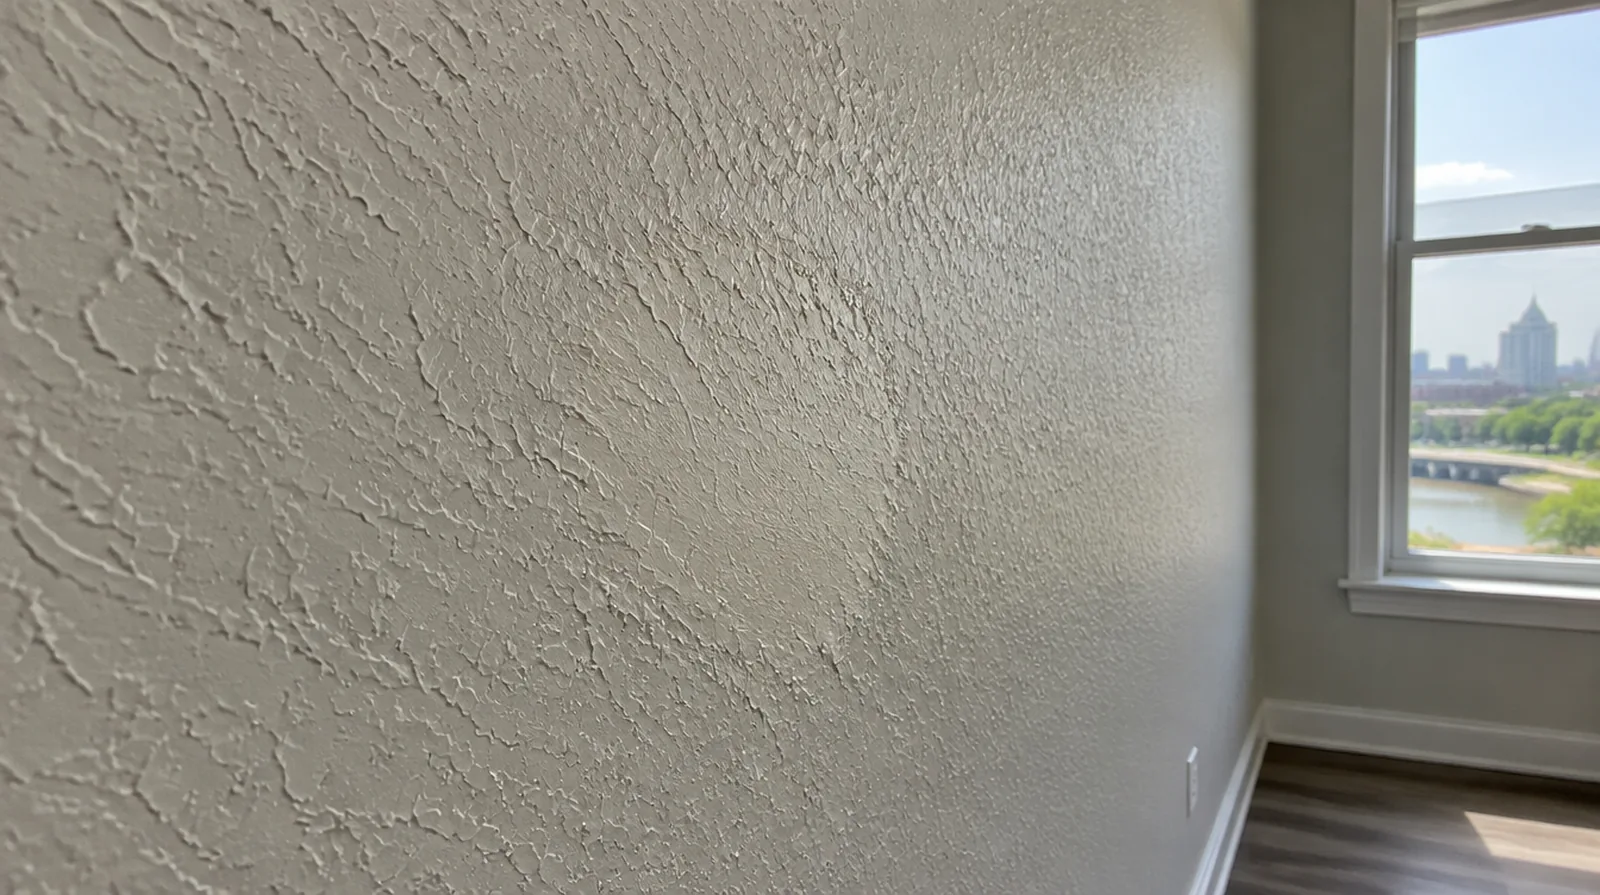
Allow time before painting
Applying paint before the texture has dried can disturb the pattern or produce uneven absorption. The quote should explain whether the next decorating stage is included or left to a painter. Where a neat final edge matters, agree whether the finish ends against existing trim or whether that trim will be removed and replaced.
Judge from normal positions
Close inspection of a wet sample is less useful than reviewing the dry finish from ordinary room viewpoints. The planned decorative paint sheen and oblique light both belong in the final appearance discussion. At an edge beside built in furniture, state whether the obstruction will be removed or whether finishing stops at the section that can be reached.
Project context in Joliet
Stair access can influence the practical sheet dimensions, while a long ceiling line may make shallow unevenness particularly visible. During cold winter periods, confirm that suitable indoor conditions can be maintained through the finishing stages, not only during the first visit.
Scope questions before finishing
If the wall surface work belongs to a broader renovation, coordinate its order with flooring, cabinetry and trim rather than scheduling finishing in isolation.
For a surface that will receive wall covering, share the product requirements early so the finishing stage supports the planned decorative treatment.
For a surface carrying numerous paint layers, discuss whether differences in the retained profile or sheen justify decorating a broader area.
If the surface condition is uncertain, allow for an assessment that can distinguish stable material from layers that ought not to be covered.
For a planned new wall mounted fixture, resolve its backing requirements while the cavity remains open instead of cutting into completed drywall later.
If a room has only limited ventilation, discuss how the finishing materials can dry without disrupting comfort or spreading dust elsewhere.
Where the wall meets fixed furniture, clarify whether removal is included or whether the finish will terminate at the accessible edge.
When photographs are used for an initial discussion, include a wide room view as well as a close view so scale and surrounding finishes are understandable.
For a room with restricted airflow, plan drying conditions alongside dust protection and the comfort of people occupying neighboring spaces.
When a wall has repeated defects, keep a record of earlier repair attempts so a new assessment does not simply repeat an unsuccessful approach.
When panel replacement exposes a cavity, resolve any required inspection before that opening is closed and the finishing work begins.
For a repair that crosses several surfaces, measure the affected planes separately so the estimate can explain where each finishing treatment starts and stops.
Explore the Joliet drywall overview for related options, or read the project planning information before arranging the next stage.
More planning details for Joliet
A Joliet renovation schedule should account for both material handling and the conditions maintained inside the room. Measure the route and the finished area separately instead of assuming one measurement answers both questions. If neighboring rooms remain in use, explain how dust protection will be managed and when the work zone needs to stay undisturbed.