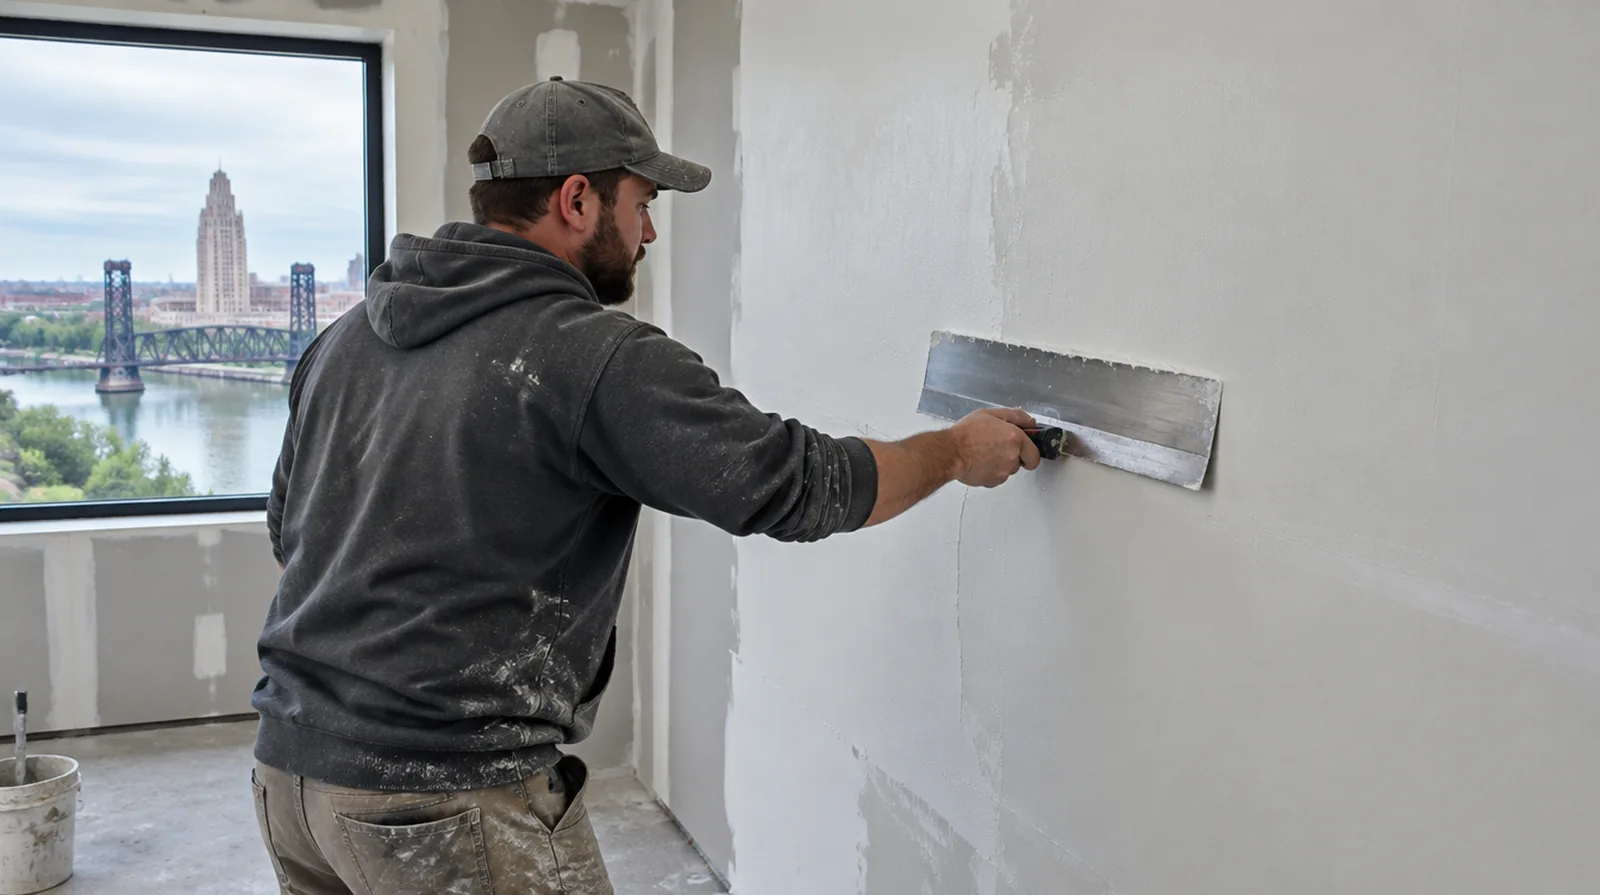
Stabilize torn paper
Exposed drywall paper can bubble when it receives wet compound without suitable preparation. Stabilize those paper defects with an appropriate treatment before beginning the broad skim application. When a quote includes multiple visits, ask what happens during each stage and when the room needs to remain undisturbed between coats.
Define the smoothing target
Flattening a light texture is differing from correcting deep waves across an entire wall. Describe the expected improvement and any retained wall variation in the agreed finish scope. For a surface carrying numerous paint layers, discuss whether differences in the retained profile or sheen justify decorating a broader area.
Check underlying movement
Surface refinement cannot stabilize framing movement or repair board that no longer holds securely. Assess recurring cracks and complete necessary reinforcement before covering the area with a skim. If the ceiling or wall includes fittings, identify the person responsible for removing and reinstalling each item before the work begins.
Let each coat dry
Allow each application to become ready for the next under the interior conditions actually maintained. A rushed next coat can drag or disturb material that has not set up sufficiently. At an edge beside built in furniture, state whether the obstruction will be removed or whether finishing stops at the section that can be reached.
Work around trim carefully
Baseboards, frames and fixed fittings create edges that need neat transitions and protection. Decide whether trim removal is needed or whether a neat stop against it is acceptable. Where existing floors will remain, specify protective measures and review the path used by panels, equipment and finishing tools.
Refine with minimal sanding
Good application reduces the amount of sanding needed to achieve a uniform finish. Even so, plan dust protection and extraction for the fine particles produced by broad surface work. For walls beside bright windows, review a dry sample from an oblique angle as well as looking straight at the repaired surface.
Inspect using side light
Check the dried surface with light crossing it as well as light facing it directly. The review should reflect the conditions that will matter when the room returns to everyday use. If the completion date matters most, allow for intervals between coats as well as active labor rather than assuming the entire process happens continuously.
Clean and prepare the wall
Adhesion can be compromised by dirt, oil or residues left on the old coating. Select cleaning and any necessary bonding preparation according to the actual surface condition. When comparing competing estimates, make sure their protection, surface finish and disposal allowances describe equivalent work before comparing the final prices.
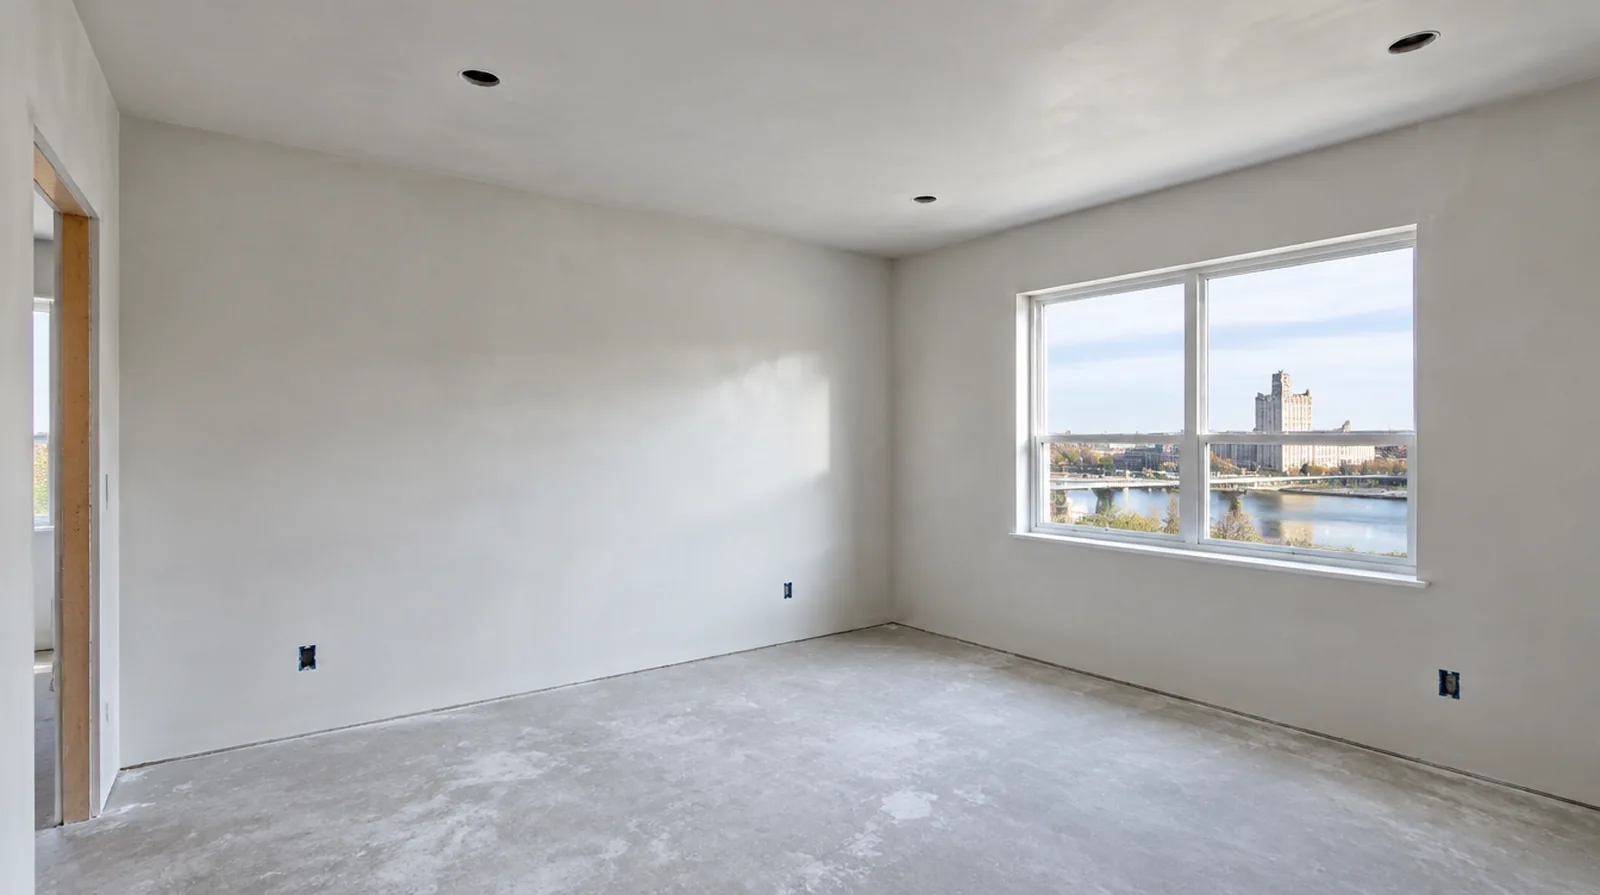
Choose paint with the finish
A glossy decorative choice may reveal variations that a lower sheen makes less apparent. Connect the paint selection to the agreed preparation standard before deciding how extensive the skim work ought to be. When panel replacement exposes a cavity, resolve any required inspection before that opening is closed and the finishing work begins.
Prime before decoration
Fresh skim compound needs an appropriate primer before the finish paint is applied. Priming equalizes absorption and could help identify small corrections before the last paint coat is applied. Where a finished perimeter is prominent, decide whether trim stays in position or is removed before agreeing how the new surface meets that edge.
Project context in Joliet
Measure the route and the finished area separately instead of assuming one measurement answers both questions. Stair access can influence the practical sheet dimensions, while a long ceiling line may make shallow unevenness particularly visible.
Scope questions before finishing
If there is a fixed move in date, reserve sufficient time for the coating stages after drywall work rather than counting only the installation period.
Before comparing two proposals, check that both include the same protection, finishing and cleanup boundaries rather than comparing totals alone.
When concealed damage is possible, establish how additional findings and any proposed removal will be recorded before the scope changes.
When reviewing the finished work, use the agreed lighting and natural room viewpoints so the assessment reflects the intended use of the space.
Where existing floors will remain, specify protective measures and review the path used by panels, equipment and finishing tools.
When the wall has strong reflected light, look at the full plane instead of judging only the narrow strip immediately beside the patch.
For an initial assessment from pictures, provide an overall room photograph and a detailed view of the defect so both context and scale are apparent.
At the handover inspection, review the finish from ordinary room positions using the lighting conditions that were agreed for the work.
For a repair that crosses several surfaces, measure the affected planes separately so the estimate can explain where each finishing treatment starts and stops.
For a project with several trades, agree which inspection or handover point must happen before the next person starts work.
If the proposal requires return visits, identify the purpose of each stage and the intervals during which finishing material needs to remain undisturbed.
For work spread across differing planes, record their dimensions separately and describe the boundary of the treatment on each surface.
Explore the Joliet drywall overview for related options, or read the project planning information before arranging the next stage.
More planning details for Joliet
A Joliet renovation schedule should account for both material handling and the conditions maintained inside the room. During cold winter periods, confirm that suitable indoor conditions can be maintained through the finishing stages, not only during the first visit. If neighboring rooms remain in use, explain how dust protection will be managed and when the work zone needs to stay undisturbed.