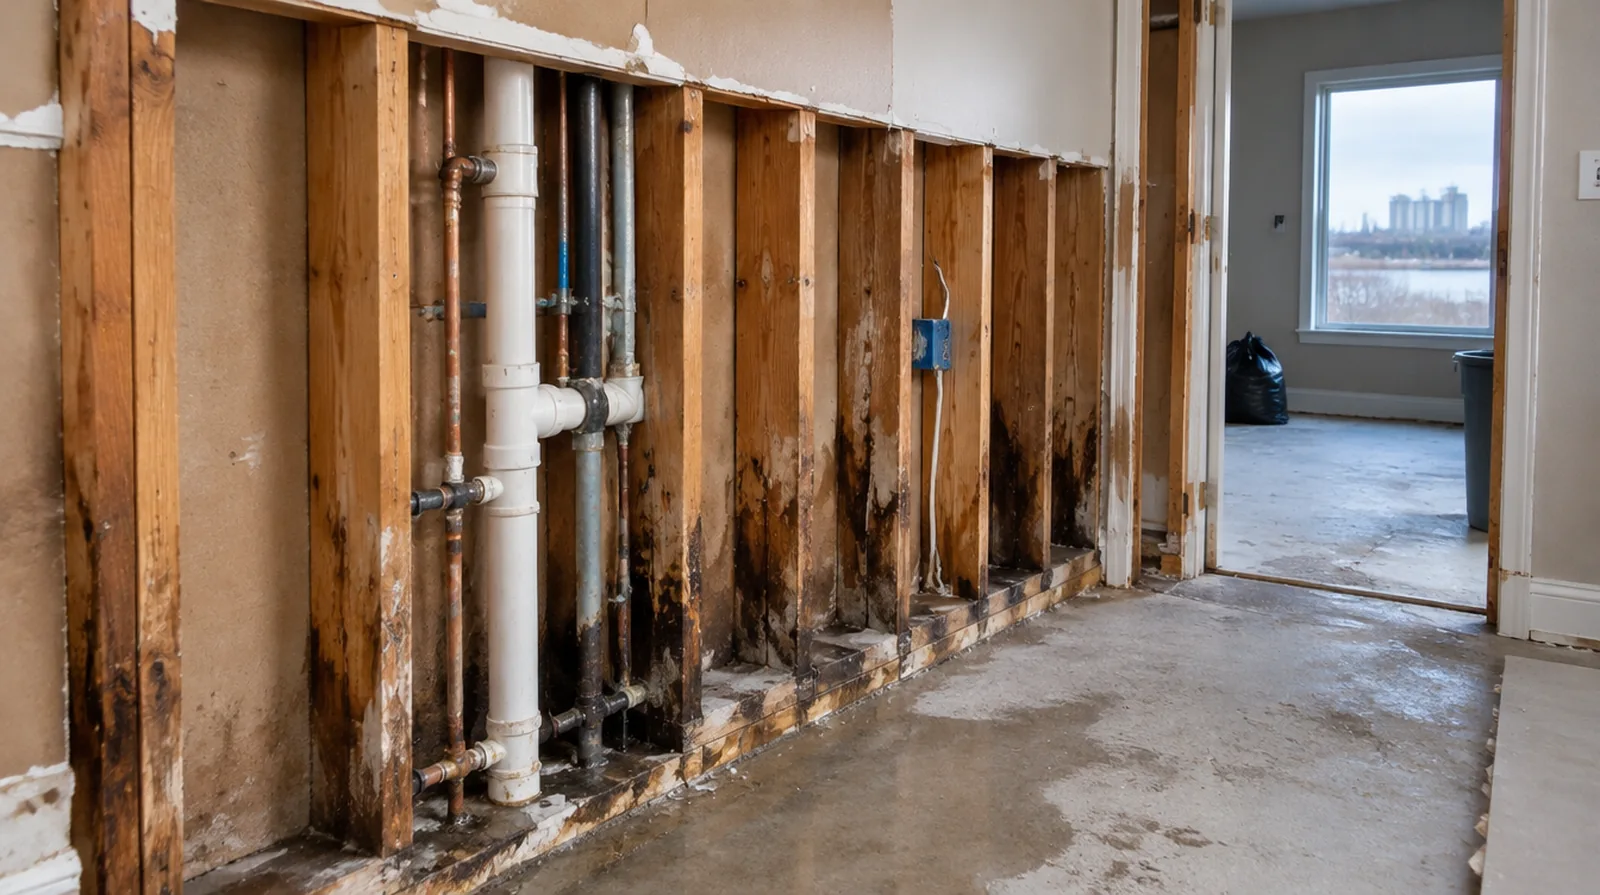
Resolve the water source
Replacement drywall should follow correction of the leak, condensation or other source that caused the damage. A cosmetic cover will not stop water from entering the same assembly again. When the same defect has returned, share information about previous repair methods so the next assessment can consider why they did not last.
Verify drying readiness
A dry looking outer face does not prove that concealed framing and insulation are ready to enclose. Make clear which professional confirms drying readiness before the cavity is covered again. When the history of a repair is uncertain, note when it became visible and whether its appearance has altered across distinct seasons.
Define selective removal
A planned removal area opens the assembly for evaluation without automatically stripping every adjacent surface. Choose its edge to allow supported replacement and a finishing transition that can be blended effectively. Where the wall meets fixed furniture, clarify whether removal is included or whether the finish will terminate at the accessible edge.
Treat remaining discoloration
An old dry mark may bleed through new decoration unless an suitable primer is selected. Choose that treatment only after confirming the discoloration does not signal continuing moisture. At an edge beside built in furniture, state whether the obstruction will be removed or whether finishing stops at the section that can be reached.
Inspect concealed components
Other components revealed by removal might need attention that is not included in panel replacement. Resolve the condition of exposed insulation, wiring and plumbing before closing the wall surface. At a ceiling or wall containing fittings, assign removal and reinstatement duties for the affected devices before repair access is needed.
Match the board assembly
Use replacement panels consistent with the original thickness and the assembly that must be restored. Water resistant products do not remove the need to correct the conditions that caused the damage. Where several contractors share the renovation, identify the inspection and handover milestones that determine when each following stage can proceed.
Keep contamination separate
Suspected microbial contamination or exposure to flood water is outside a routine cosmetic patch assessment. Obtain suitable remediation advice about safe containment and removal before arranging ordinary drywall restoration. Where a finished perimeter is prominent, decide whether trim stays in position or is removed before agreeing how the new surface meets that edge.
Record the completed scope
Keep notes on the source correction, removed materials and any drying verification supplied by other professionals. This record helps explain what the drywall repair covered and what maintenance remains the property owner responsibility. If there is a fixed move in date, reserve adequate time for the coating stages after drywall work rather than counting only the installation period.
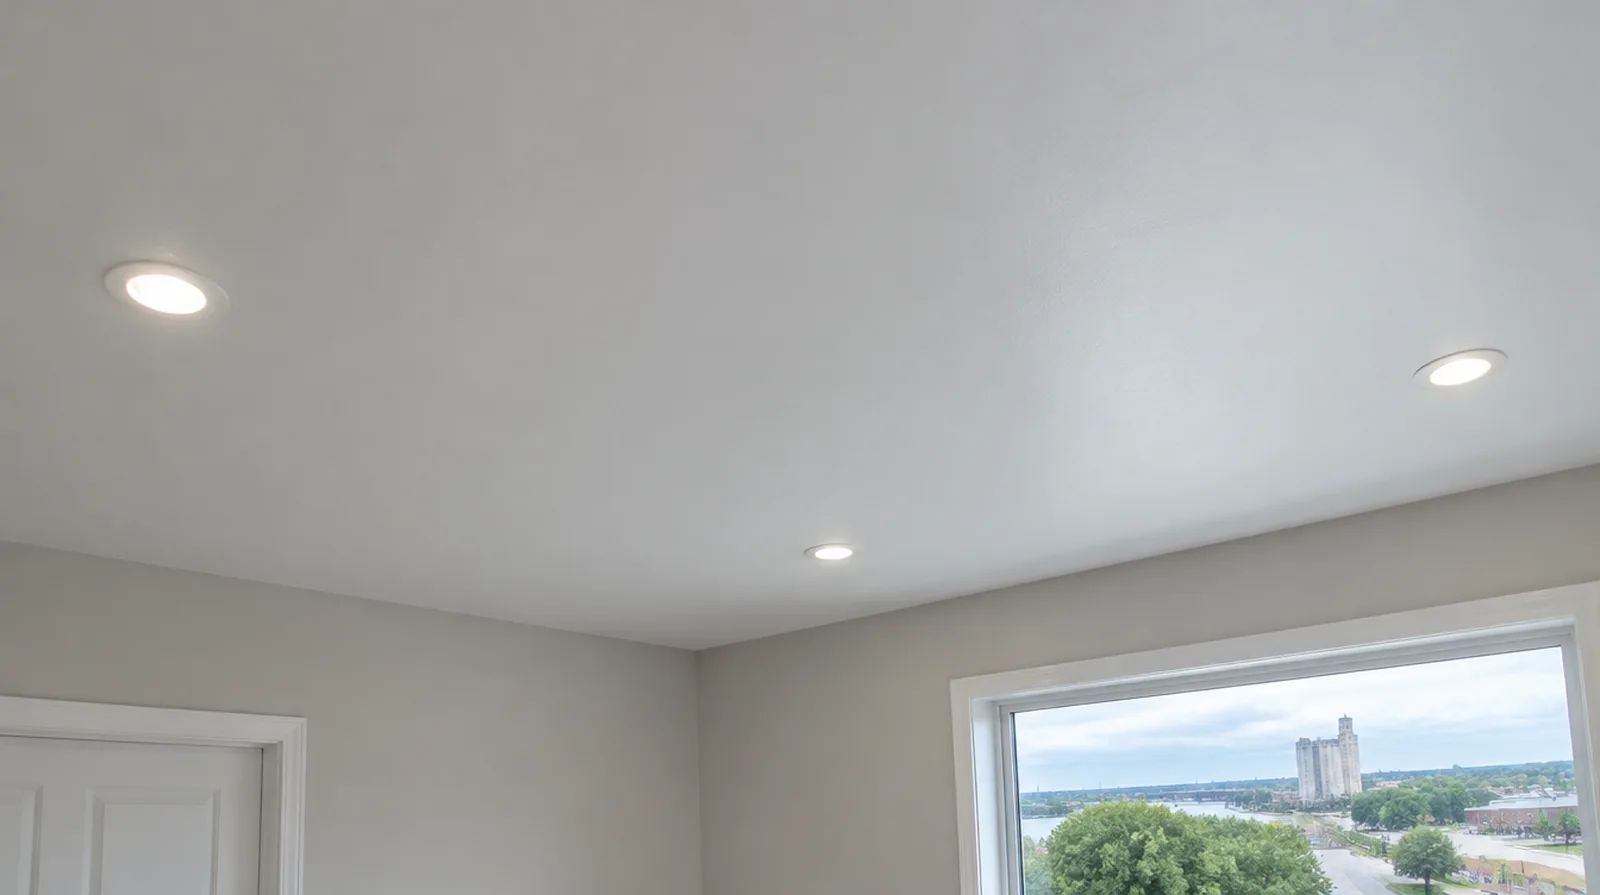
Agree on decorative boundaries
Restoring the gypsum and achieving a consistent painted room finish are not automatically the same scope. Discuss a larger painting boundary if local decoration would leave a conspicuous difference around the patch. Where flooring is staying in place, agree on protective coverings and check that tools and material handling will not damage the visible finish.
Finish after moisture control
Apply joint treatment to sound, sufficiently dry materials after the moisture issue has been addressed. Give each finishing layer time to dry rather than trapping dampness under additional material. Where existing floors will remain, specify protective measures and review the path used by panels, equipment and finishing tools.
Project context in Joliet
Measure the route and the finished area separately instead of assuming one measurement answers both questions. A Joliet renovation schedule should account for both material handling and the conditions maintained inside the room.
Scope questions before finishing
For a planned new wall mounted fixture, resolve its backing requirements while the cavity remains open instead of cutting into completed drywall later.
If the problem developed after another renovation, explain which nearby materials or building systems changed before the damage became noticeable.
When building management controls access, agree delivery hours and common area protection before committing to a start or finish date.
At a repair beside an opening, allow clearance for moving board through the doorway and space to use the finishing tools effectively.
When panel replacement exposes a cavity, resolve any required inspection before that opening is closed and the finishing work begins.
When the decorative coating has been selected, tell the finisher its intended sheen and color while the substrate preparation standard is still being agreed.
At a surface receiving strong window light, review a dried trial from the side in addition to the normal straight view of the wall surface.
Before comparing two proposals, check that both include the same protection, finishing and cleanup boundaries rather than comparing totals alone.
For a surface that will receive wall covering, share the product requirements early so the finishing stage supports the planned decorative treatment.
If access passes through a shared space, arrange protection and a delivery route that do not unnecessarily obstruct other occupants.
When the history of a repair is uncertain, note when it became noticeable and whether its appearance has altered across differing seasons.
When the project space includes a doorway, check the clearance for panel movement as well as the amount of space available for finishing tools.
Explore the Joliet drywall overview for related options, or read the project planning information before arranging the next stage.
More planning details for Joliet
Stair access can influence the practical sheet dimensions, while a long ceiling line may make shallow unevenness particularly visible. During cold winter periods, confirm that suitable indoor conditions can be maintained through the finishing stages, not only during the first visit. If neighboring rooms remain in use, explain how dust protection will be managed and when the work zone needs to stay undisturbed.